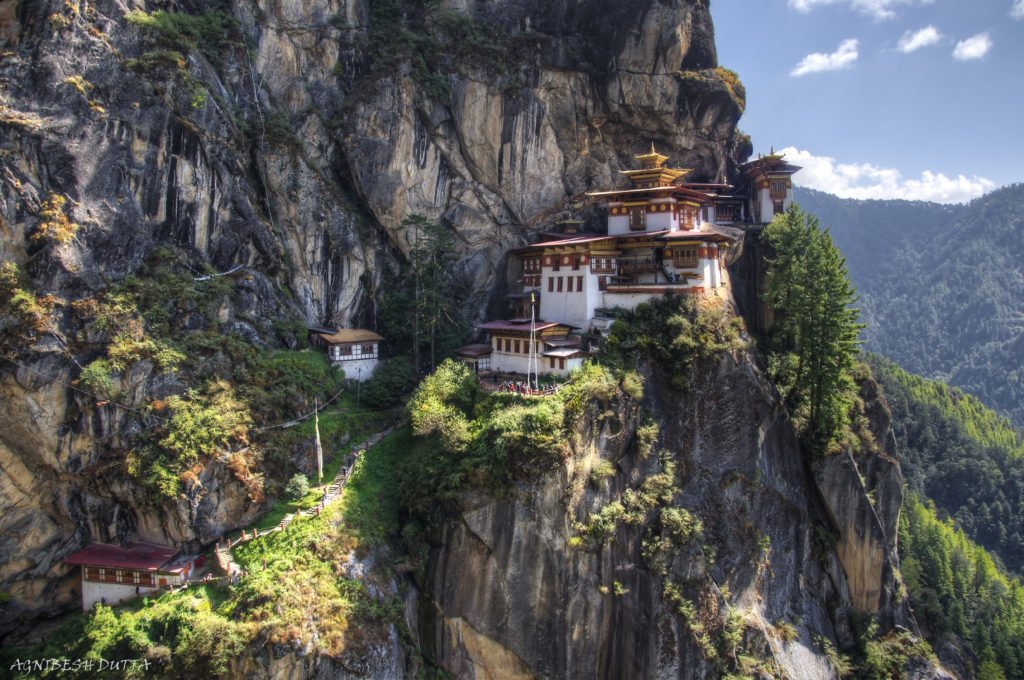
Tiger’s Nest Monastery, locally known as the Taktsang Goemba or Paro Taktsang Monastery, is maybe the most stunning site in the little Himalayan kingdom of Bhutan. Sitting right on the lap of the mighty Himalayas, the legends surrounding this holy Buddhist site are mysterious and the scenery around it is devastatingly gorgeous. No trip to Bhutan is complete without a visit to this site.
This is our photo story about a hike to Tiger’s Nest Bhutan. We are a roaming couple who likes short trips and budget travel. We generally don’t spend a long time in a particular place. As our blog name suggests, we hop around quite frequently. So if we suit your travel style please subscribe to us or connect with us on the social network of your choice.

A Brief but Fun History
The Tiger’s nest monastery is one of the most holy places for Buddhism in Bhutan and was constructed in 1692 around a cave where Guru Padmasambhava (Guru Rinpoche) was said to have meditated for three years, three months, three weeks, three days and three hours in the 8th century.
As you would often find with religious tales, legends often become intertwined facts and the stories around this monastery are no different. Legends say that Guru Rinpoche flew to this location from Tibet on the back of a tigress from Khenpajong and tamed the tiger demon here. Hence this place is called Taktsang which literally means Tiger’s Lair. More history from this place can be found here.
-Quick Facts and Tips-
- Entry fee is 500 BTN per person for foreigners to enter the monastery. No fee to hike till the monastery
- Operating hours are everyday 8AM – 1PM and 2PM-6PM during Summers and 8AM – 1PM and 2PM-5PM during winter months of Oct to Mar.
- No Shorts and sleeveless shirts are allowed inside the monastery. So if you are planning to hike in shorts don’t forget to bring an extra pair of trousers and a shirt.
- There is a cafeteria midway to the hike where you can order some food and hydrate.
- Carry Water, Hat, Sunscreen and Rain jacket even if most of the trail is quite shaded, it’s advisable to bring a hat and sunscreen as the sun can get rather harsh especially during the midday. Also water is only available at the midway cafeteria, so carry enough. The weather can be unpredictable as usual for mountains so also carry a light rain jacket.
- Be ready to climb a lot. Even if the total roundtrip distance is about 4 miles or about 6.5 Kms, you will gain around 1700ft (more than 500 meters) that too in undulating terrain. Also there are around 700 steps at the final climb to the monastery. And all these are happening at an altitude of over 10000 ft (around 3000 meters) above sea level so your will tire faster.
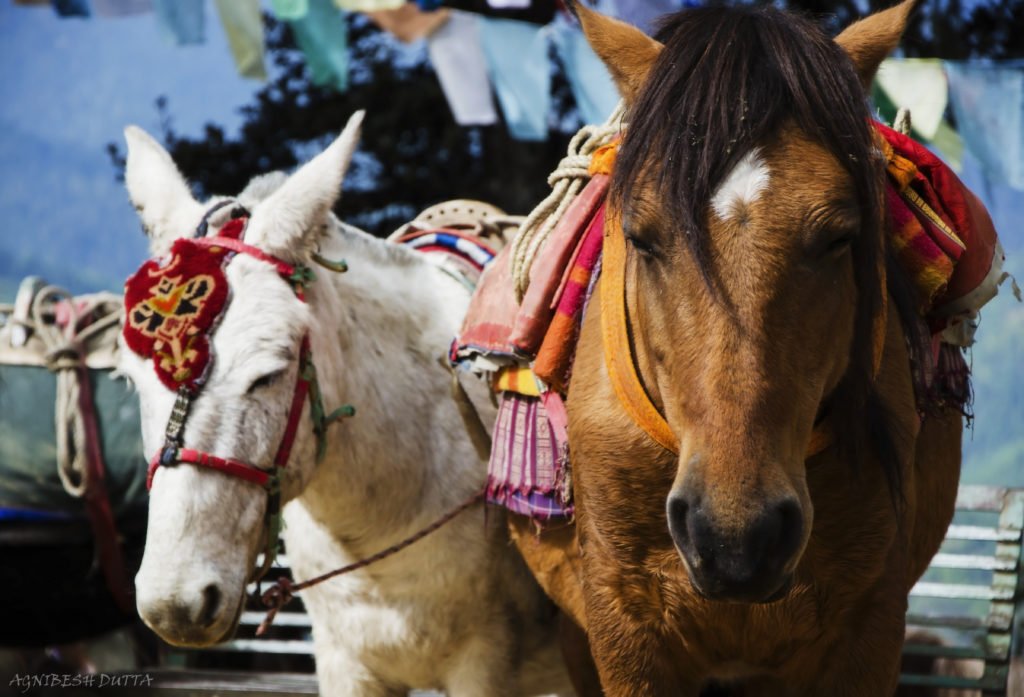
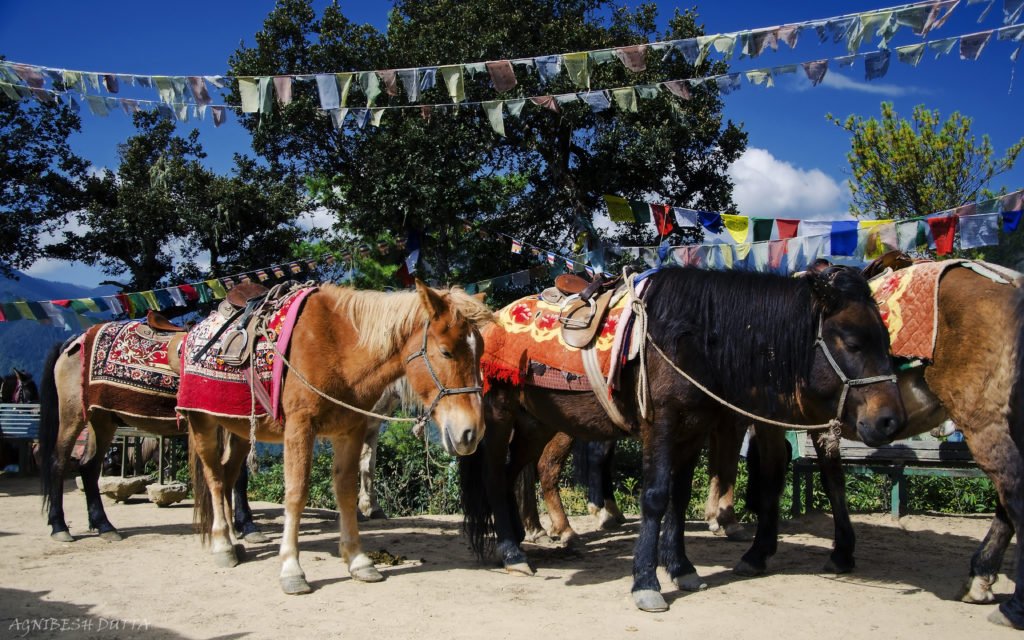
- Horses and Mules are available to rent at the base for around 20 USD if you want to reduce the burden of walking. But they can only carry you till the midway cafeteria point and after that till the monastery hiking is the only option. Also you cannot rent horses while coming down.
- Total time to complete the whole trip is around 4-6 hours depending on how fast you can climb and how often you will stop to take pictures.
- Start Early in the morning to beat the crowd. This is one of the most popular spots in Bhutan and it can get really crowded especially when entering the monastery. Start your day around 6AM to reach the monastery as early as possible.
- The absolute best time to visit is the fall months of October and November and spring months of March and April. Other times are good too but keep in mind that January and February are generally very cold and June to September it can rain a lot.
How to Hike to Tiger’s Nest Bhutan
Taktsang Monastery base is around 15 kilometers drive from the beautiful and buzzing town of Paro and most people will stay in this town overnight to visit here. Paro is the only International airport in Bhutan so unless you are coming crossing the border from India, this is the place you will land at.
Since Bhutan can only be visited through registered tour companies, the return journey to the base from Paro town will definitely be included if this monastery is in the prearranged itinerary. Tickets are only needed to enter the monastery, which is highly recommended, and will mostly be pre arranged by the tour company. If you just want to hike till the outside of the monastery, no ticket is needed.
The climb towards the monastery was not that hard if you are a decently fit person. Only thing to keep in mind is that due to the altitude you might get tired faster thanks to lack of Oxygen. For this trip I was accompanied by my parents too, mother mother being 60 years old and father at 70. My mother did the whole hike up, though a bit slow but with ease. My father decided to take a horse till the halfway point.
The Climb towards the Monastery
The climb started from a base parking lot which also acts as a small market for souvenirs, snacks, drinks and other goods. There were also horses and mules for hire here for people who have difficulty climbing or for those who wanted an easier approach. But do keep in mind that the horses can carry you only till the midpoint till the cafeteria. After that walking on foot is the only way.

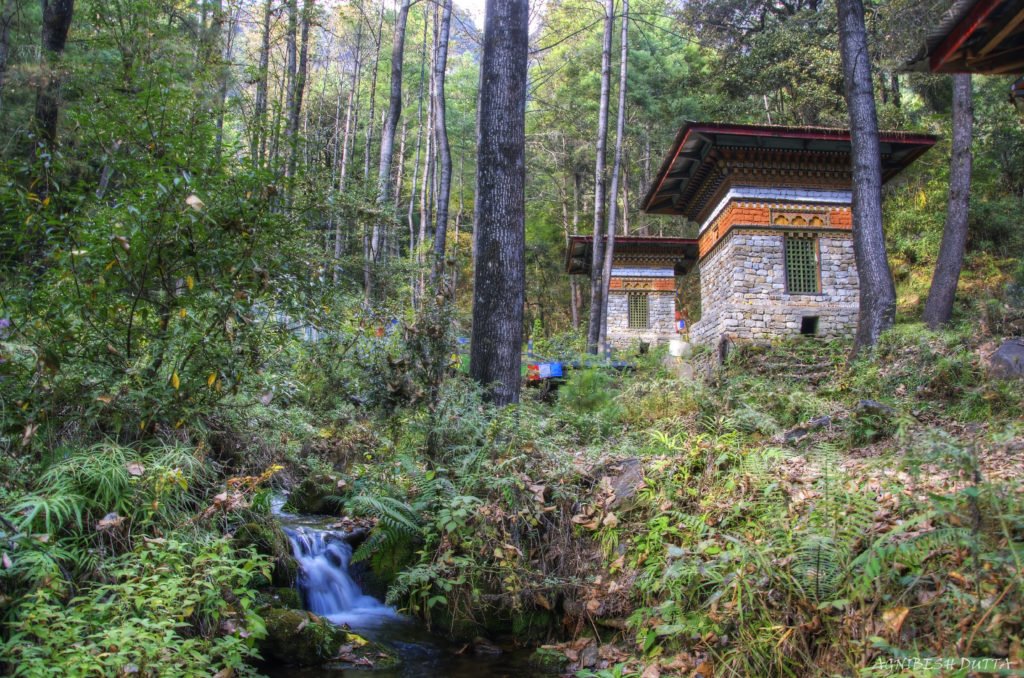
The first part of the climb was through a forest of pine and . The trail was muddy but the environment beautiful as we strolled through the fog amidst the green ravines. We also found some beautiful prayer wheel buildings beside small streams along the way.
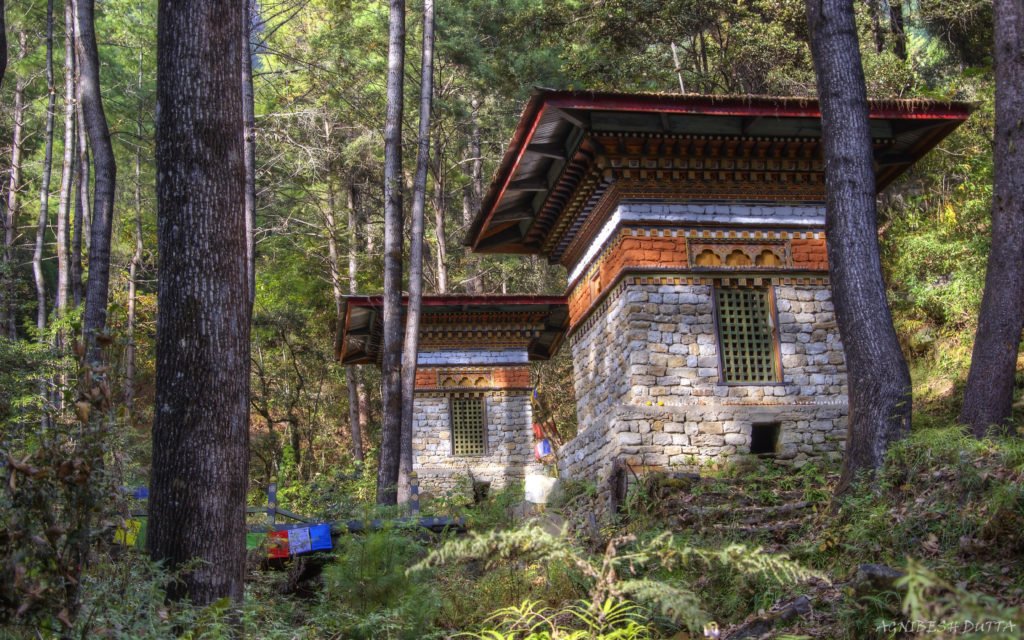

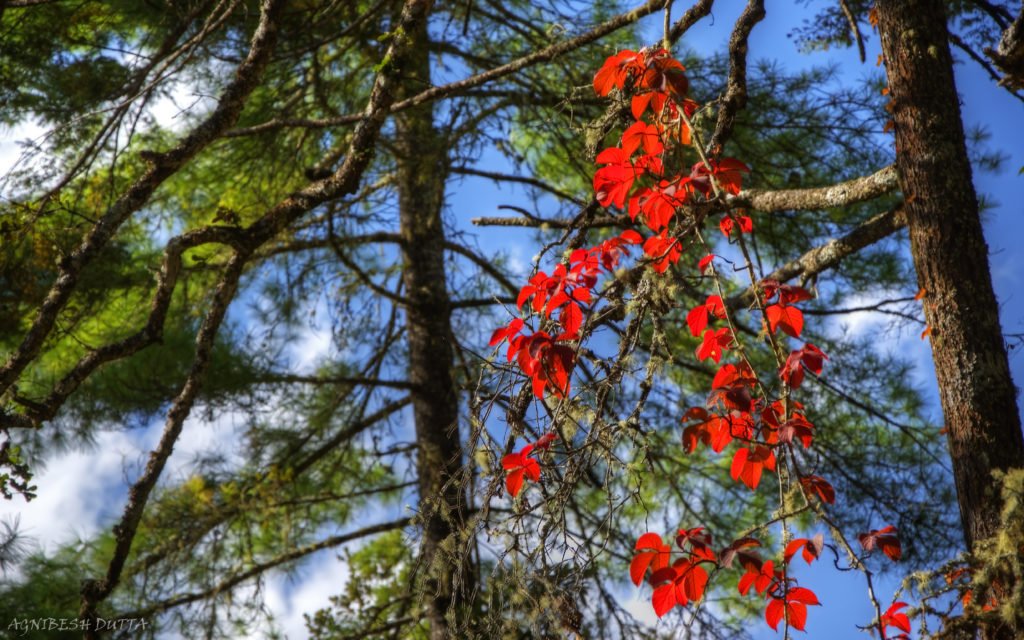
The trees of these part were beautiful with green and red leaves and birds were humming all our way along our way giving us some melodious company.

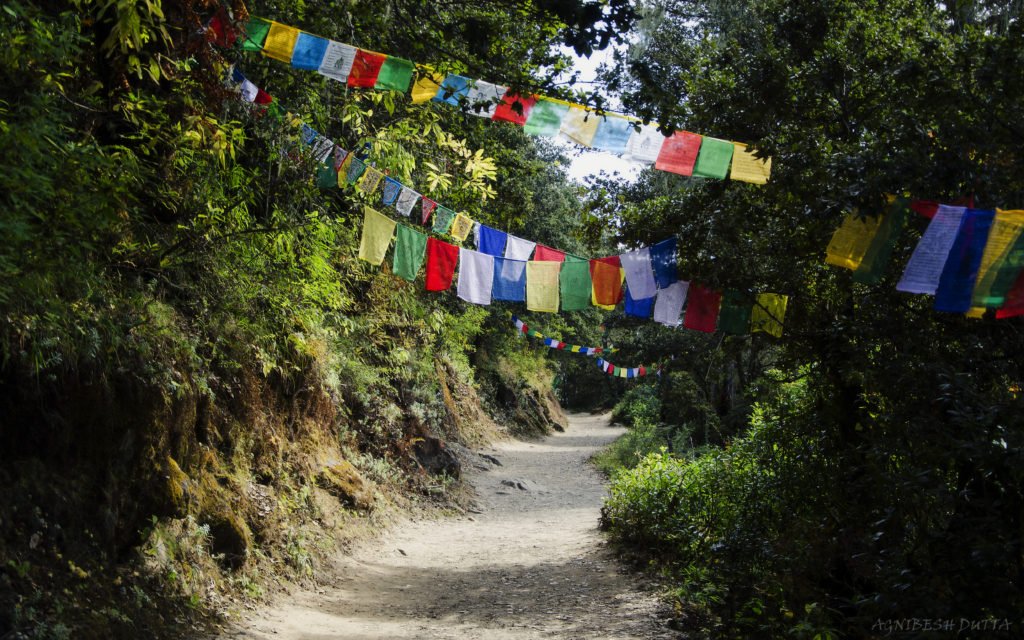
When we gained a little elevation, the forest cleared and the road became a drier rocky dirt trail. The climb became a little stiffer and we could really feel a little lack of breath due to the altitude. But it was not that bad though we got a little slower. Sometimes horses were unceremoniously stepping past us but we were mostly unbothered by them as the trail was wide enough.

After navigating along the steep curvy roads, we reach the midway point which is the cafeteria. For people who had hired horses, this was the point till where horses could take them.

We took some light snacks and tea at the cafeteria and filled up on our water stock. It was a little cloudy and foggy when we reached the cafeteria but then the cloud cleared and we got our first glimpse of the mighty Tiger’s Nest Monastery sitting tight on the lap of the Himalayas.


After a brief rest of forty minutes at the cafeteria, we started our hike again. This stretch of the trail was comparatively much easier. There were no steep stretches and the terrain was mostly gradual undulating with occasional slopes both up and down. The trail was very green and studded with pretty wild flowers along the way. There were also a few small houses resided by monks.
We were walking fast on this section but was constantly getting slowed down to take pictures. Then a turn came and we moved past a cliff and we got the most amazing view of the monastery. This was the most popular spot to take the picture of the Tiger’s nest monastery and most likely this is the view you must have seen on the internet when you search for this place.


Then started the final climb to the monastery which consisted of around 700 steps. Once we covered it all, we entered the outer courtyard of the monastery. This is the last place where we could take pictures as after this no photography was allowed. We had to submit our bags and belongings to the security desk, and remove our shoes before entering the monastery. Also no short pants, sleeveless clothings and hats were allowed inside. And foreigners (except for SAARC nation countries I believe) must be accompanied by guides inside the establishment.
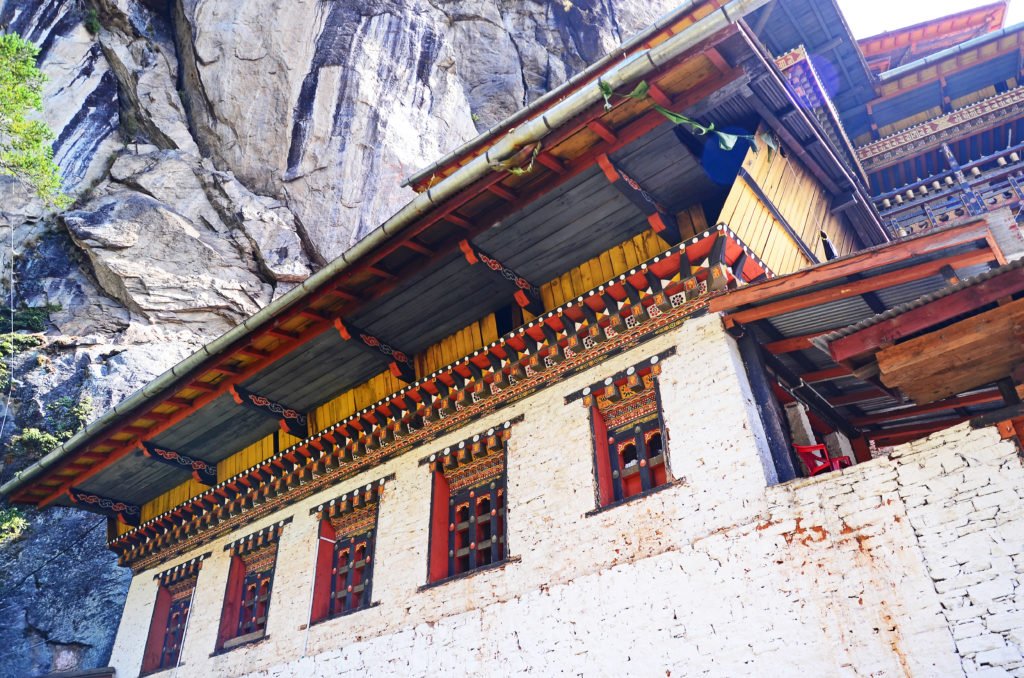

Inside of the monastery was unnaturally calm even with all the tourists and the monks and the cold floor gave some soothing relief to our tired feet. The monastery was actually built around 9 caves and Guru Rinpoche was said to have meditated inside few of them. Today monks use some of the caves for meditation and worship. There were also 10 sacred objects called Lhakhangs inside the monastery which were various sacred statues and artifacts. More information about the caves and the inside of the monastery can be found here.
Getting Back From the Tiger’s Nest Monastery
The journey down was again along the same trail and was much easier. But since it was midday, we had to dodge through a lot more crowd coming from the opposite direction. Also we discovered that there was a long queue to enter the monastery by then and we lauded our good decision to start the day early.
It took us less than half time to come down than what we needed for the other way. Once there we found our car waiting for us and we headed back to Paro town for our hotel. And once back to town, we washed our tiredness away with a few filling plates of Momos and some hot soups along with a jolly sense of achievement.
It was a tiring but amazing day indeed. Not only Tiger’s Nest Monastery is a place of great historical and religious importance but also it is stunningly beautiful and a dream destination for shutterbugs. Hope you include hike to Tiger’s Nest monastery in your travel bucket list and this story helps you with your trip.

If you liked our story about our hike to Tiger’s Nest Monastery please Check our other Destinations.
